🚀 CI/CD Pipelines for Ruby on Rails: From GitHub Actions to AWS 🌐✨
🚀 CI/CD Pipelines for Ruby on Rails: From GitHub Actions to AWS 🌐✨
Continuous Integration and Continuous Deployment (CI/CD) are no longer optional in modern software development — they’re the secret sauce behind rapid, reliable releases and developer sanity! 🧘♂️💻
In this blog, let’s dive deep into setting up a robust CI/CD pipeline for your Ruby on Rails application — starting with GitHub Actions and deploying seamlessly to AWS. We’ll break down each step with clear examples, so you can supercharge your Rails project with confidence! 🔥🚀
📌 What is CI/CD and Why Does It Matter?
CI (Continuous Integration) ensures that every code commit is automatically tested and integrated into the main branch.
CD (Continuous Deployment/Delivery) makes sure that the tested code is automatically deployed to production or staging servers.
✨ Benefits:
- ✅ Faster development cycles
- ✅ Early bug detection
- ✅ Easy rollbacks
- ✅ Happier dev teams and users!
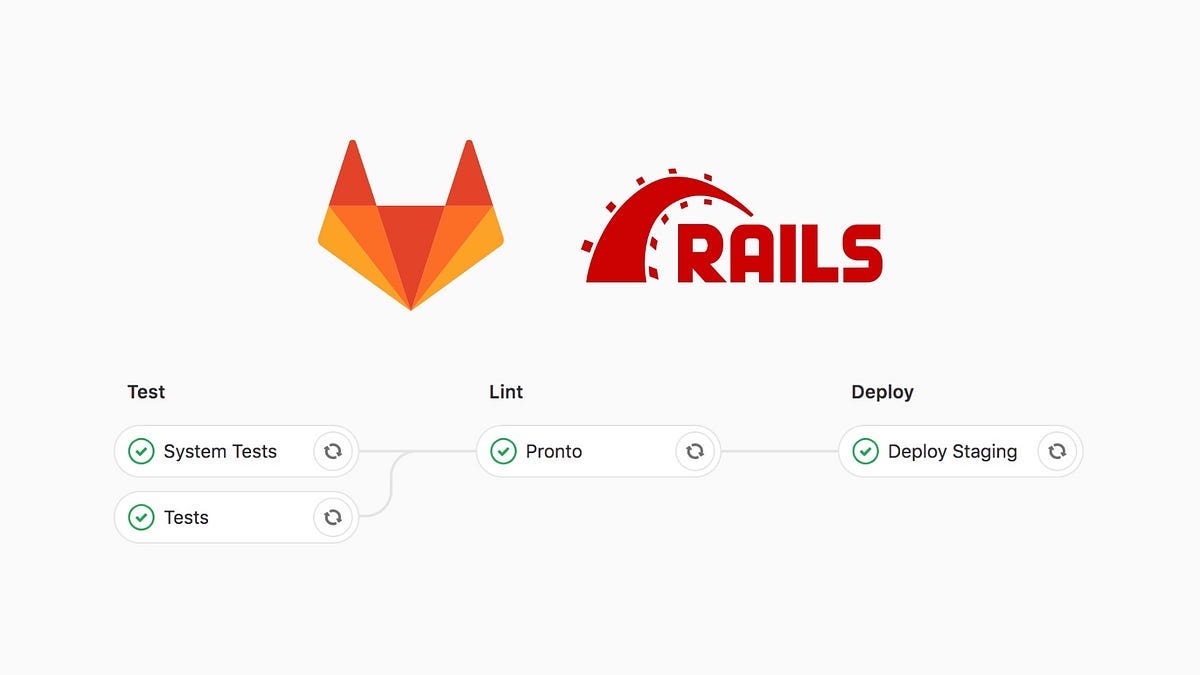
🏗️ Step 1: Set Up GitHub Actions for CI
GitHub Actions is a free, powerful automation tool built into GitHub. It lets you run workflows triggered by events like pushes, pull requests, or tags.
🗂️ Example Rails Workflow
Create a .github/workflows/ci.yml in your Rails repo:
name: Ruby on Rails CI

on:
  push:
    branches: [ main ]
  pull_request:
    branches: [ main ]

jobs:
  build:
    runs-on: ubuntu-latest

    services:
      postgres:
        image: postgres:14
        ports: [ "5432:5432" ]
        env:
          POSTGRES_USER: postgres
          POSTGRES_PASSWORD: password
        options: >-
          --health-cmd pg_isready
          --health-interval 10s
          --health-timeout 5s
          --health-retries 5

    env:
      RAILS_ENV: test
      PGHOST: localhost
      PGUSER: postgres
      PGPASSWORD: password

    steps:
    - uses: actions/checkout@v3

    - uses: ruby/setup-ruby@v1
      with:
        ruby-version: 3.2

    - name: Install dependencies
      run: |
        gem install bundler
        bundle install --jobs 4 --retry 3

    - name: Set up database
      run: |
        bundle exec rails db:create
        bundle exec rails db:schema:load

    - name: Run tests
      run: |
        bundle exec rails test
🔍 Features:
✅ Runs on every push & PR
✅ Uses PostgreSQL as DB service
✅ Installs Ruby, dependencies, sets up DB, runs tests
✅ Easy to customize!
🚀 Step 2: Add Continuous Deployment to AWS
Once tests pass, let’s deploy! One popular route is deploying your Rails app to AWS EC2 or Elastic Beanstalk.
☁️ Example: Deploy to EC2 with SSH
Add another job in your ci.yml:
deploy:
  needs: build
  runs-on: ubuntu-latest
  if: github.ref == 'refs/heads/main'

  steps:
  - uses: actions/checkout@v3

  - name: Deploy to EC2
    uses: appleboy/ssh-action@master
    with:
      host: ${{ secrets.EC2_HOST }}
      username: ${{ secrets.EC2_USER }}
      key: ${{ secrets.EC2_SSH_KEY }}
      script: |
        cd /var/www/yourapp
        git pull origin main
        bundle install
        rails db:migrate
        rails assets:precompile
        touch tmp/restart.txt
✅ Features:
- Uses appleboy/ssh-action
- SSH into EC2 server securely
- Pulls latest code, installs gems, migrates DB, restarts app
🔑 Secure Secrets:
Store EC2_HOST, EC2_USER, EC2_SSH_KEY as GitHub Secrets under Settings ➜ Secrets and variables.
📈 Alternative: Deploy with Elastic Beanstalk
AWS Elastic Beanstalk simplifies deploying web apps. Here’s a quick gist:
1️⃣ Install EB CLI:
pip install awsebcli --upgrade2️⃣ Initialize:
eb init3️⃣ Create environment:
eb create your-env-name4️⃣ Deploy:
- name: Deploy to Elastic Beanstalk
  run: |
    eb deploy your-env-name
  env:
    AWS_ACCESS_KEY_ID: ${{ secrets.AWS_ACCESS_KEY_ID }}
    AWS_SECRET_ACCESS_KEY: ${{ secrets.AWS_SECRET_ACCESS_KEY }}
    AWS_REGION: your-region
⚡️ Tips for Smooth CI/CD
✅ Keep secrets safe — never hardcode keys!
✅ Use staging environments before pushing to production.
✅ Monitor deployments and roll back quickly if needed.
✅ Automate database backups.
✅ Document your pipeline for your team!
🎉 Conclusion
With GitHub Actions + AWS, you can build a modern, resilient CI/CD pipeline for your Ruby on Rails app in no time. Say goodbye to manual deploy headaches and hello to happy releases! 🚀✨
🔗 Resources
💬 Have Questions?
Drop a comment below or reach out — I’d love to help you get your Rails CI/CD pipeline humming smoothly! 🎉🚀


Comments
Post a Comment