🧠 Build Your Own AI Assistant to Answer Anything — Forever Free! 🚀
🧠 Build Your Own AI Assistant to Answer Anything — Forever Free! 🚀
Ever dreamt of having your own AI Assistant that answers your questions, helps with research, codes for you, or just chats like a friend — all for FREE? 🤖💬
Well, you’re in luck — this guide walks you through how to build your own AI assistant from scratch using open-source tools and free APIs.

Let’s dive in and turn your dream AI buddy into reality 💥
🔧 Step-by-Step Guide to Create Your AI Assistant (Totally Free)
🛠️ Step 1: Decide the Interface (Terminal / Web / App)
- Choose how you want to interact:
- 🖥️ Terminal-based bot (lightweight & simple)
- 🌐 Web-based assistant (using Flask, Streamlit)
- 📱 Mobile app bot (React Native or Flutter — optional advanced step)
👉 For beginners, start with a terminal or web interface using Python!
📦 Step 2: Set Up Your Environment
✅ Install Python
If you don’t have Python installed, download it here
✅ Create a virtual environment
python -m venv ai_env
source ai_env/bin/activate  # for Mac/Linux
ai_env\Scripts\activate     # for Windows
✅ Install Required Libraries
pip install openai streamlit requests python-dotenv🧠 Step 3: Choose a Free LLM (Large Language Model)
Here are some forever free LLM options:

📌 If you want fully offline + private AI, go with Ollama.
💡 Step 4: Write Your AI Assistant Script
🧑💻 Basic Python Script using OpenAI:
import openai
import os

openai.api_key = os.getenv("OPENAI_API_KEY")

def ask_ai(prompt):
    response = openai.ChatCompletion.create(
        model="gpt-3.5-turbo",
        messages=[{"role": "user", "content": prompt}]
    )
    return response['choices'][0]['message']['content']

while True:
    user_input = input("You: ")
    print("AI:", ask_ai(user_input))
💥 Boom! Your basic AI chatbot is live in terminal!
🖼️ Step 5: Upgrade with a Web UI (Bonus for Non-Tech Users)
Use Streamlit to create a beautiful web interface:
# app.py
import openai
import streamlit as st
import os

openai.api_key = os.getenv("OPENAI_API_KEY")

st.title("🧠 Your Personal AI Assistant")
user_input = st.text_input("Ask something...")

if user_input:
    response = openai.ChatCompletion.create(
        model="gpt-3.5-turbo",
        messages=[{"role": "user", "content": user_input}]
    )
    st.write("💬", response['choices'][0]['message']['content'])
Launch using:
streamlit run app.py🌟 Bonus Tips & Features to Supercharge Your AI Assistant
💾 1. Use Local Models for Unlimited Use
Install Ollama and run this:
ollama run mistralThen call it via API in your Python script. No API cost, no limits! 🤑
🗣️ 2. Add Voice Capabilities (Speech to Text & Text to Speech)
Use:
SpeechRecognition+pyttsx3for voice input/outputgTTS(Google Text-to-Speech)whisperfrom OpenAI for better speech recognition
🧩 3. Add Memory (Session History)
Maintain chat history in a list so the AI remembers context:
chat_history = [{"role": "system", "content": "You are a helpful assistant."}]

while True:
    user_input = input("You: ")
    chat_history.append({"role": "user", "content": user_input})

    response = openai.ChatCompletion.create(
        model="gpt-3.5-turbo",
        messages=chat_history
    )

    message = response['choices'][0]['message']['content']
    print("AI:", message)
    chat_history.append({"role": "assistant", "content": message})
🌍 4. Connect to Web Search (Use with caution!)
You can integrate web search using:
SerpAPI(Free trial available)Google Custom Search API
Combine LLM + real-time web info 🔍
🧩 5. Add Plugin-like Features:
Let your AI assistant:
- 🔗 Search Wikipedia
- 📅 Set reminders
- 📧 Read emails
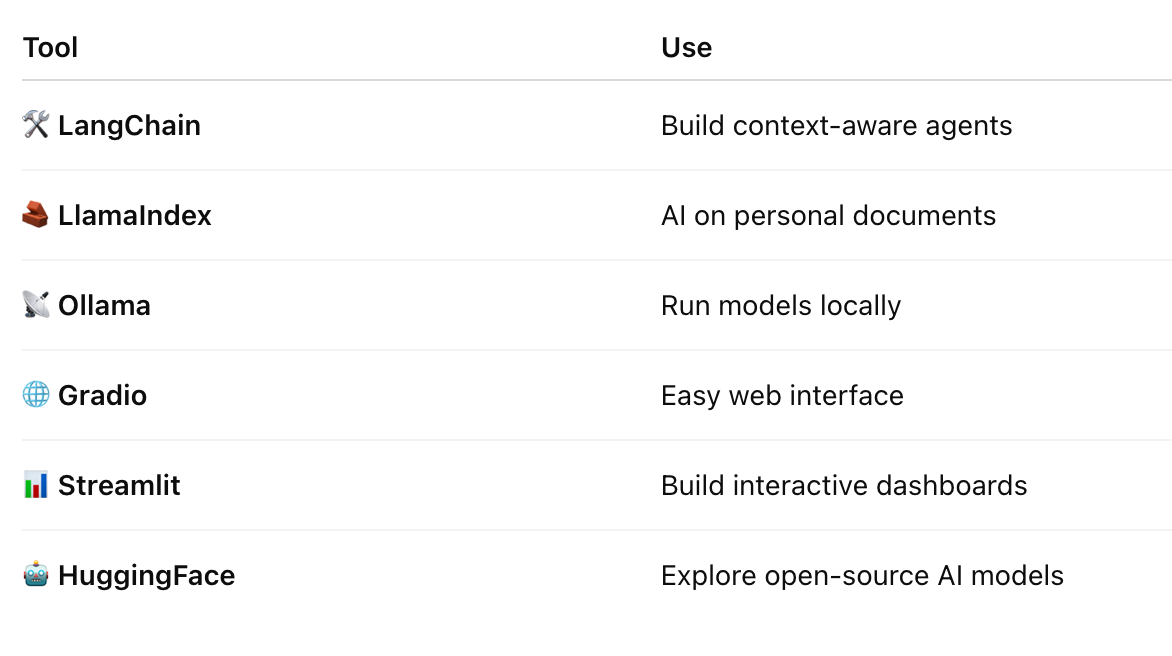
- 📁 Search your files (using LangChain + LlamaIndex)
🧰 Tools You Should Know About
💬 Final Thoughts
Creating your own AI assistant is no longer a dream reserved for big companies like Google or Apple.
You can do it today — completely FREE — using open tools and a little curiosity! 💡💻
So, why not build your very own Jarvis or Friday? 🤖
✨ Your AI friend is just a few lines of code away!
🔗 Share This With Tech Friends 👨💻👩💻
“Give someone GPT and they’ll use AI for a day. Teach them to build GPT, and they’ll innovate for a lifetime.” 🌟


Comments
Post a Comment