🧠🔥 Top Python AI & ML Libraries You MUST Know (With Code Examples & Pro Tips!)
🧠🔥 Top Python AI & ML Libraries You MUST Know (With Code Examples & Pro Tips!)
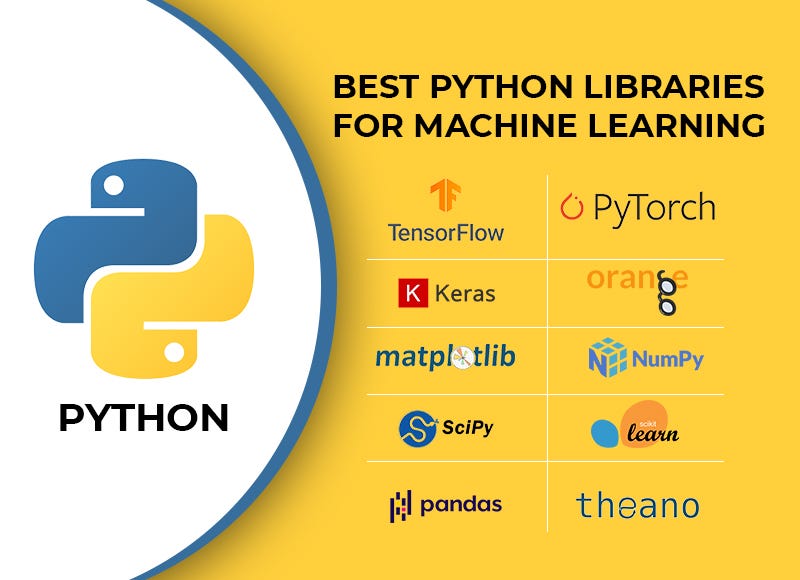
Python has become the de-facto language for AI and Machine Learning — all thanks to its powerful ecosystem of libraries that make building intelligent applications a breeze. In this blog, we’ll explore top Python libraries for AI & ML, share their key features, simple code examples, and bonus tips to get the best out of them. Ready? Let’s dive in! 🚀

1️⃣ NumPy — Foundation of Data Science 🧮
🔹 Purpose: Efficient numerical computation
🔹 Why It’s Used: For creating arrays, performing mathematical operations, and handling large datasets efficiently.
import numpy as np

arr = np.array([[1, 2], [3, 4]])
print("Matrix:\n", arr)
print("Determinant:", np.linalg.det(arr))
✅ Pro Tip: Combine NumPy with Pandas and Matplotlib for full data handling + visualization workflows.
2️⃣ Pandas — Data Wrangling Superpower 🐼
🔹 Purpose: Data manipulation and analysis
🔹 Why It’s Used: Makes data cleaning, filtering, grouping, and transformation super intuitive.
import pandas as pd

data = {'Name': ['Alice', 'Bob'], 'Score': [85, 90]}
df = pd.DataFrame(data)
print(df[df['Score'] > 85])
✅ Pro Tip: Use .groupby() and .pivot_table() for powerful aggregations!
3️⃣ Matplotlib & Seaborn — Data Visualization Wizards 📊
🔹 Purpose: Visualize your data
🔹 Why It’s Used: Matplotlib is highly customizable; Seaborn builds beautiful charts with less code.
import seaborn as sns
import matplotlib.pyplot as plt

tips = sns.load_dataset('tips')
sns.boxplot(x='day', y='total_bill', data=tips)
plt.show()
✅ Pro Tip: Use Seaborn with Pandas DataFrames for best synergy.
4️⃣ Scikit-learn — ML Model Master 🎯
🔹 Purpose: Machine Learning algorithms
🔹 Why It’s Used: Offers simple APIs for regression, classification, clustering, and preprocessing.
from sklearn.linear_model import LinearRegression
from sklearn.model_selection import train_test_split
import numpy as np

X = np.array([[1], [2], [3], [4]])
y = np.array([2, 4, 6, 8])
X_train, X_test, y_train, y_test = train_test_split(X, y)

model = LinearRegression().fit(X_train, y_train)
print("Prediction:", model.predict([[5]]))
✅ Pro Tip: Use Pipeline and GridSearchCV for clean and optimized workflows.
5️⃣ TensorFlow — Deep Learning Beast 🧠
🔹 Purpose: Deep Learning models
🔹 Why It’s Used: Used by Google; supports both research and production with ease.
import tensorflow as tf

model = tf.keras.Sequential([
    tf.keras.layers.Dense(64, activation='relu'),
    tf.keras.layers.Dense(1)
])

model.compile(optimizer='adam', loss='mse')
print(model.summary())
✅ Pro Tip: Use tf.data for fast data loading and TensorBoard for visualization.
6️⃣ PyTorch — Flexibility + Power 💥
🔹 Purpose: Deep learning research and development
🔹 Why It’s Used: Loved by academia and now also widely used in production.
import torch
import torch.nn as nn

x = torch.tensor([[1.0, 2.0]], requires_grad=True)
layer = nn.Linear(2, 1)
y = layer(x)
print(y)
✅ Pro Tip: Use torchvision and torchaudio for ready-to-use datasets and models.
7️⃣ Keras — Beginner-Friendly Deep Learning 🎓
🔹 Purpose: High-level neural network API
🔹 Why It’s Used: Wraps TensorFlow to make neural networks easier to build.
from keras.models import Sequential
from keras.layers import Dense

model = Sequential()
model.add(Dense(10, input_dim=2, activation='relu'))
model.add(Dense(1, activation='sigmoid'))
model.compile(optimizer='adam', loss='binary_crossentropy')
print(model.summary())
✅ Pro Tip: Best for quick prototyping and beginner projects!
8️⃣ OpenCV — Computer Vision King 👁️
🔹 Purpose: Real-time computer vision
🔹 Why It’s Used: Face detection, object tracking, and image processing made easy.
import cv2

img = cv2.imread('image.jpg')
gray = cv2.cvtColor(img, cv2.COLOR_BGR2GRAY)
cv2.imshow('Gray Image', gray)
cv2.waitKey(0)
cv2.destroyAllWindows()
✅ Pro Tip: Combine with deep learning libraries for advanced vision tasks!
9️⃣ NLTK & spaCy — NLP Ninjas 🗣️
🔹 Purpose: Natural Language Processing
🔹 Why It’s Used: Text classification, sentiment analysis, tokenization, and named entity recognition.
Using spaCy:
import spacy

nlp = spacy.load("en_core_web_sm")
doc = nlp("Apple is looking at buying U.K. startup for $1 billion")
for ent in doc.ents:
    print(ent.text, ent.label_)
✅ Pro Tip: Use spaCy for production-level NLP, and NLTK for educational/research purposes.
🔟 XGBoost & LightGBM — Kaggle Grandmasters’ Choice 🏆
🔹 Purpose: Gradient Boosting Models
🔹 Why It’s Used: Extremely powerful for structured/tabular data.
from xgboost import XGBClassifier

model = XGBClassifier()
model.fit(X_train, y_train)
preds = model.predict(X_test)
✅ Pro Tip: Always tune hyperparameters using Optuna or GridSearchCV for best performance.
🔥 Bonus Libraries You Should Explore:
🔸 FastAI — Built on PyTorch, simplifies deep learning
🔸 Hugging Face Transformers — For state-of-the-art NLP
🔸 PyCaret — Low-code ML tool for rapid experimentation
🔸 Auto-sklearn / TPOT — AutoML tools to save time and boost accuracy
🧠 Pro Tips to Master These Libraries:
✅ Start with a small dataset to understand functionality
✅ Follow official docs and notebooks for each library
✅ Combine libraries smartly (e.g., Pandas + Seaborn + Scikit-learn)
✅ Try building projects like digit recognizers, spam detectors, or stock price predictors
✅ Stay active on Kaggle to apply and learn from real-world problems
🎯 Conclusion
Whether you’re just getting started or leveling up your ML/AI skills, these Python libraries are your toolkit to build smarter apps. They’re powerful, well-documented, and supported by huge communities. So go ahead, experiment, and bring your AI ideas to life! 💡
Comments
Post a Comment